
Mira Le – Alive


I like building stuff. I have been like this for as long as I can remember. When I got a new toy as a kid the first thing I did was to take it appart just so I could play with the parts then build it back up again. For over 20 years I have dreamed about building my own professional sound studio. When me and my wife bought our current house she was kind enough to let me use one of the bedrooms for this project. Even though the room was very small I really wanted to go all the way. This is the story about how I turned a very small bedroom in my house into a professional sound studio. Construction of the studio started in 2017 and was a on/off project until finished in 2020.
This blog about building a sound studio in a small bedroom is not intended as a proof of concept. In any case you intend to use any of my concept designs or drawings in your own build it is at your own risk. Before starting a project like this it would be highly recommended to contact professionals in the field for advice. I am not the guy to contact about studio design, but I can definitely mix your song. Most of, if not all the build concepts were design together with allot of help from the amazing people at John Sayers studio design forum. Good reading!
The initial planning started all the way back i 2013. The actual demolition of the old bedroom started in 2016 and was resized while renovating the entire house making the initial size of the studio to L:4.20m (13.77ft) x W:2.26m (7.41ft) x H:2,64m (8.66ft). All drawings for this projects was done using google scetchup.


The room was entirely built based on the “inside out” studio construction concept by John Sayers. If you want to know more about this method, I recommend checking out his site johnlsayers.com. My wall sections were built with the following layering. Gypsum board (15mm) – Green glue – Gypsum board (13mm) – Isolated 2×4 wood frame). Sins the insulation of the wall is facing the room I built the walls in section on the floor and raised them in place on top of neoprene rubber pads on the floor then bolting them to the concrete floor. The ceiling was also built with the same layering. I also build the ceiling in sections then lifting them into place one by one.


I build the fresh air ventilation system using two duct fans K125 EC (Ø125mm / 490 m3/h) capable of replacing enough air for us to be four people in the studio at the same time. The fans are connected to fiber glass insulated flexible ducts and two custom built silence boxes. One for fresh air and one for exhaust. The fresh air ducts are connected to an air filter and a heater for cold days. On the heater I installed a duct line wind speed sensor that again was connected to an internal interlock relay inside the heater to avoid that the heater stays on if the fans are off. I also added a switch on the wall so I could switch of the power to heater entirely if needed. I custom build the ducting system and four silence traps that led to an extremely quiet system in the end. Fan speed controller was added to the wall for more control. I usually have them running on medium speed when I’m in the studio. I installed a “Mitsubishi Lenta” silent 25 split system for controlling the temperature. This is now auto controlled based on temperature. In the wintertime this is usually off sins the ventilation system itself keeps the room at a nice even temperature of 21°C ( 69.8°F ). In the summertime on hot days, it auto starts if the temperature goes over a threshold. The air condition and the split system together produces running noise levels usually under 22db on normal operation always keeping the temperature between 20 – 23°C. Its barely noticeable when they are running.


The floor was built on the same prisible as a “drum riser”. Insulation directly on the floor – 2 layers of MDF – Finishing off with plywood an calc around the edge


The outer window I used fabricated house sound glass. The inner glass I used laminated acoustic PVB and build the framing myself. Built as a unit with spasing between them finised up with cloth covering the gap between the laminated unit and the outer wall unit.
The glass for the inner leaf I monted in the frame, sealed arround the edges and finised of with window lists.


Then it was time to install the double sound doors. Doors are fitted with a roller locking mechanism so I dont need the holes for the door handels. The door will close on push and open if pulled. Finished the frame with foam rod into the cracks (both sides of the door) and then caulk. The inside between the frames will be fitted with cloth covered rockwoll.


The walls was finished up with flame resistant wall fabric ( FR701 ) wraped arround wooden frame panels and installed into place.


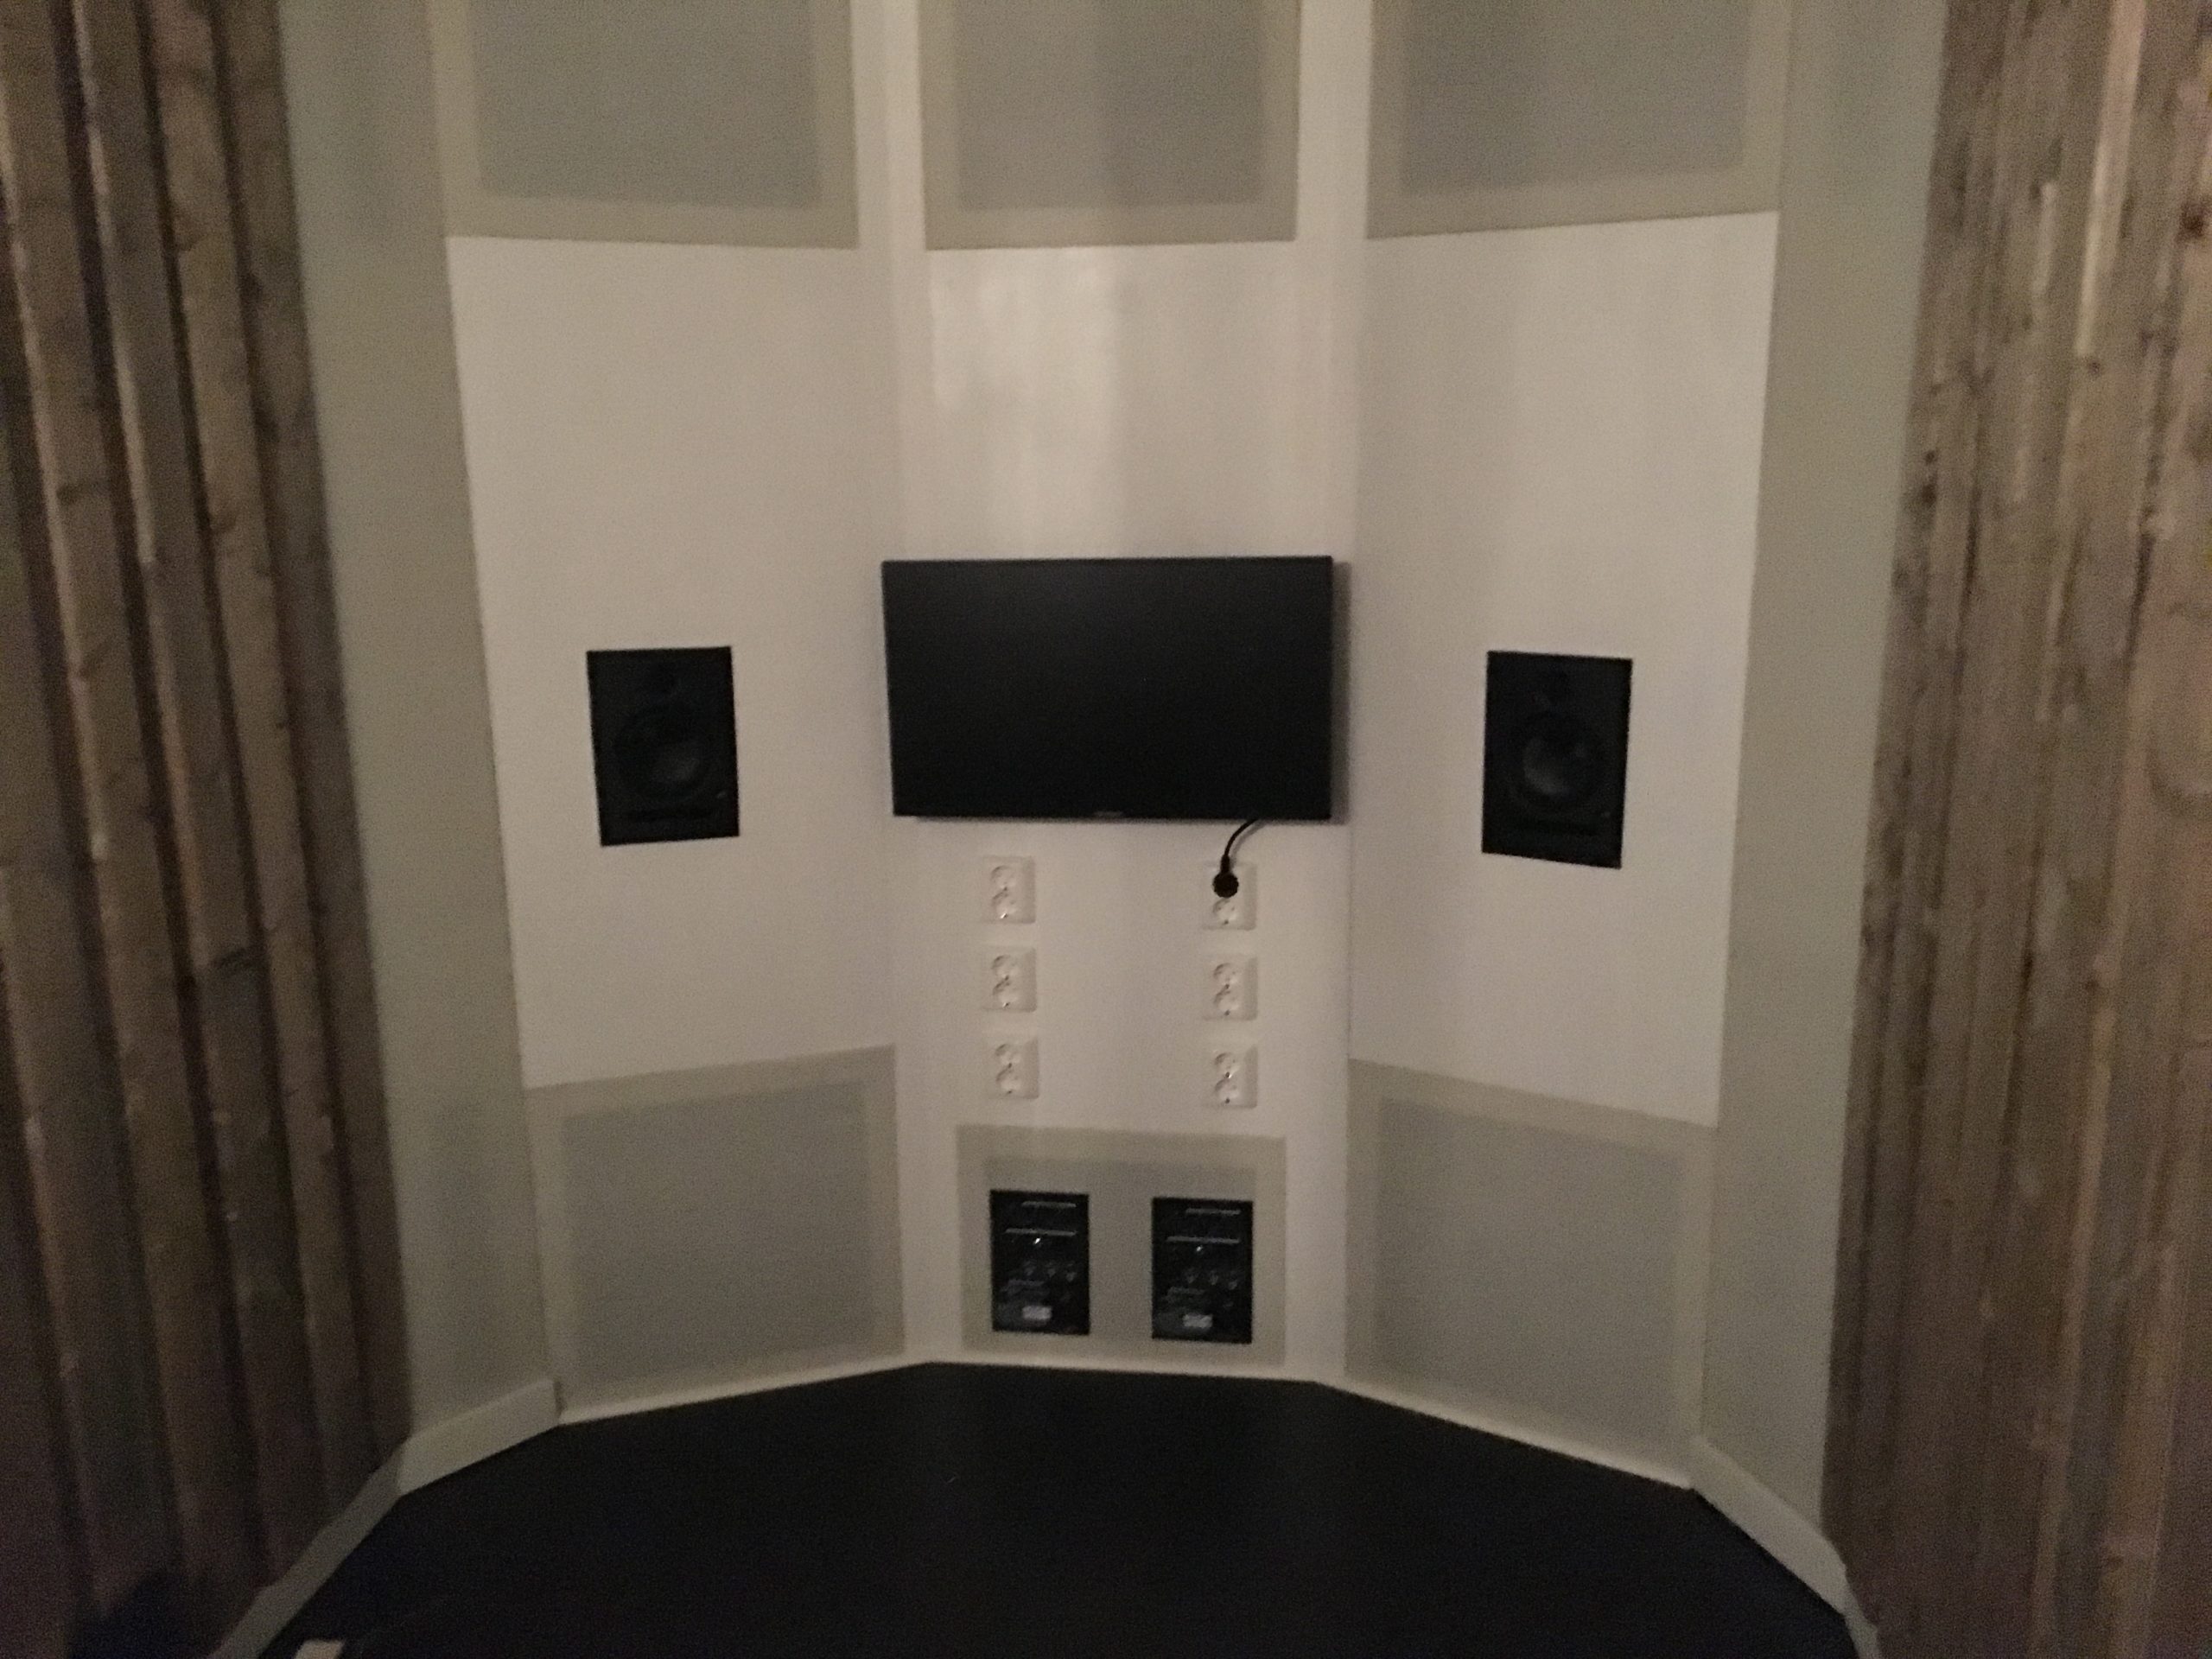
Then it was time to soffit-mount the speakers. I knew that this was going to be a very challenging task. So, I decided early on that I did not want to use very expensive speakers in case I messed things up. But on the other hand, I wanted speakers that I could use for a few years that sounded just fine. Then replace those speakers later. So, I bought a pair of reasonable priced Presonus speakers with good reviews and got to work. I wanted the amplifiers of the speakers accessible if I ever wanted to adjust some of the settings on them after the speakers was installed. So, I wrote to Presonus, asking them if this is something that I could do without messing with the sound quality. This is what they responded: “Each speaker is designed to interact with its individual acoustical environment”. This meant that taking the amps from the speaker cabinet and mounting them externally would mess with the sound. What I didn’t say in the email was that I had done it already and experienced a huge frequency drop in the low end. Then someone at the studio design forum had a great idea about 3D printing the amplifier inside the speaker cabinet to make the acoustic environment inside the cabinet the same as before. I thought that was a great idea. And sins I had access to a few 3D printers at work I did exactly that. I made sure that the weight of the 3D printed amplifier was exactly that of the original amplifier. It worked! After installing the Printed amplifier back into the speaker cabinet, the low frequencies came back to “normal”. Now would I have done that again on a new pair of speakers. Probably not. But it worked fine in this case when I had already mounted the speaker amplifiers externally. I also see now that after celebrating the speakers I have not touch the settings on the wall mounted amplifiers again. So, the conclusion for me is that when I replace my current speakers with new ones, I will leave the amplifiers in the speakers. I still use the Presonus speakers, and they sound great for the price range. I’m currently testing new speakers but I’m in no rush.


The studio desk I designed around the Presonus studio live 24 mixers and made room for 7 units of rack gear.